
投稿日: 2023年8月28日
最終更新日: 2024年5月4日
このアプリの構成
ビルドツール | Vite |
データベース | PostgreSQL |
CSSフレームワーク | Tailwind CSS |
UIライブラリ | daisyUI |
仮想環境 | Docker |
Node.jsのパッケージマネージャー | pnpm |
プロジェクトの準備
Dockerのインストール
Dockerの公式サイトからDocker Desktopをダウンロードしてインストールします。
プロジェクトディレクトリの作成
mkdir ~/rails-project
cd ~/rails-project
Dockerfileの作成
RailsのイメージをビルドするためにDockerfileを作ります。
FROM ruby:3.2.2

RUN apt-get update
RUN curl -sL http s://deb.nodesource.com/setup_18.x | bash -
RUN apt-get install -y nodejs npm
RUN npm install -g pnpm

ENV PROJECT_DIR /root/rails-project

RUN mkdir $PROJECT_DIR
WORKDIR $PROJECT_DIR

COPY Gemfile $PROJECT_DIR/Gemfile
COPY Gemfile.lock $PROJECT_DIR/Gemfile.lock

ENV BUNDLER_VERSION 2.4.19

RUN gem update --system
RUN gem install bundler -v $BUNDLER_VERSION
RUN bundle
RUN bundle update --source bundler --local

COPY . $PROJECT_DIR

EXPOSE 3000
compose.yamlの作成
PostgreSQLとRailsのコンテナを構築するためにcompose.yamlを作ります。
services:
  web:
    image: rails:latest
    build: .
    volumes:
      - .:/root/rails-project
    command: bash -c "rm -f tmp/pids/server.pid && rails s -b 0.0.0.0"
    environment:
      POSTGRES_DEFAULT_USER: postgres
      POSTGRES_DEFAULT_PASSWORD: password
    ports:
      - "3000:3000"
    depends_on:
      - db

  db:
    image: postgres:latest
    volumes:
      - postgres-volume:/var/lib/postgresql/data
    environment:
      POSTGRES_USER: postgres
      POSTGRES_PASSWORD: password

volumes:
  postgres-volume:
GemfileとGemfile.lockの作成
Gemfileを作り、以下の内容を記述します。
source "https://rubygems.org"

gem "rails"空のGemfile.lockも作っておきます。
Railsのイメージの作成
docker compose buildプロジェクトの作成
docker compose run web rails new . --minimal --skip-asset-pipeline -d postgresql --force- --minimal: Railsの追加機能であるAction Cable, Action Mailbox, Action Textをセットアップしない
- --skip-asset-pipeline: アセットパイプラインをセットアップしない
- -d: データベースを指定する
- --force: ファイルを上書きする
Gemfile.lockが更新されたので、改めてRailsのイメージをビルドします。
docker compose buildデータベースと通信できるようにする
config/database.yml のdefaultセクションにhost, username, passwordを追加します。
default: &default
  adapter: postgresql
  host: db
  username: <%= ENV["POSTGRES_DEFAULT_USER"] %>
  password: <%= ENV["POSTGRES_DEFAULT_PASSWORD"] %>
  encoding: unicode
  # For details on connection pooling, see Rails configuration guide
  # https://guides.rubyonrails.org/configuring.html#database-pooling
  pool: <%= ENV.fetch("RAILS_MAX_THREADS") { 5 } %>

...
データベースを作成してマイグレーションをします。
docker compose run web rails db:create db:migrateデフォルトのページを表示してみましょう。以下のコマンドを実行して、http://localhost:3000にアクセスします。
docker compose up
Makefileの作成
Docker Composeのコマンドは長いので、エイリアスを設定するためにMakefileを作ります。
# イメージをビルドする
.PHONY: build
build:
	docker compose build

# イメージをビルドしてコンテナをフォアグラウンドで実行する
.PHONY: up
up:
	docker compose up --build --remove-orphans || true

# コンテナを停止する
.PHONY: stop
stop:
	docker compose stop

# コンテナを停止して削除する
.PHONY: down
down:
	docker compose down --remove-orphans

# バックグラウンドでコンテナを実行し、webコンテナに入る
.PHONY: exec-web
exec-web:
	docker compose up --build --remove-orphans -d
	docker compose exec web bash

# バックグラウンドでコンテナを実行し、dbコンテナに入る
.PHONY: exec-db
exec-db:
	docker compose up --build --remove-orphans -d
	docker compose exec db bash

# rails db:createを実行する
.PHONY: create
create:
	docker compose run web rails db:create

# rails db:migrateを実行する
.PHONY: migrate
migrate:
	docker compose run web rails db:migrate

# rails db:seedを実行する
.PHONY: seed
seed:
	docker compose run web rails db:seed

# rails db:purgeを実行する
.PHONY: purge
purge:
	docker compose run web rails db:purge

# rails db:dropを実行する
.PHONY: drop
drop:
	docker compose run web rails db:drop
GNU Makeのインストール
Makefileを扱うにはGNU Makeが必要です。UbuntuとMacOSにおけるインストールコマンドを示します。
Ubuntu
sudo apt install -y build-essentialMacOS
brew install make
echo 'export PATH="$(brew --prefix)/opt/make/libexec/gnubin:$PATH"' >> ~/.zshrc
source ~/.zshrc
Viteのインストール
package.jsonを作ります。
{
  "devDependencies": {
  }
}空のpnpm-lock.yamlも作っておきます。
.pnpm-storeを.gitignoreに追加します。
# See https://help.github.com/articles/ignoring-files for more about ignoring files.
#
# If you find yourself ignoring temporary files generated by your text editor
# or operating system, you probably want to add a global ignore instead:
#   git config --global core.excludesfile '~/.gitignore_global'

# Ignore bundler config.
/.bundle

# Ignore all logfiles and tempfiles.
/log/*
/tmp/*
!/log/.keep
!/tmp/.keep

# Ignore pidfiles, but keep the directory.
/tmp/pids/*
!/tmp/pids/
!/tmp/pids/.keep


/public/assets

# Ignore master key for decrypting credentials and more.
/config/master.key

# Vite Ruby
/public/vite*
node_modules
# Vite uses dotenv and suggests to ignore local-only env files. See
# https://vitejs.dev/guide/env-and-mode.html#env-files
*.local

.pnpm-store
以下のコマンドでViteをインストールします。
make exec-web

bundle add vite_rails
bundle exec vite install

exitbin/devを作り、以下の内容を記述します。
#!/usr/bin/env sh

if ! gem list foreman -i --silent; then
  echo "Installing foreman..."
  gem install foreman
fi

exec foreman start -f Procfile.dev "$@"bin/devに実行権限を付与します。
sudo chmod u+x bin/devProcfile.devを変更して、ホストOSからコンテナの3000番ポートにアクセスできるようにします。
vite: bin/vite dev
web: bin/rails s -p 3000 -b 0.0.0.0config/vite.jsonのdevelopmentセクションにhostセクションを追加して、ホストOSからコンテナの3036番ポートにアクセスできるようにします。
{
  "all": {
    "sourceCodeDir": "app/frontend",
    "watchAdditionalPaths": []
  },
  "development": {
    "autoBuild": true,
    "publicOutputDir": "vite-dev",
    "host": "0.0.0.0",
    "port": 3036
  },
  "test": {
    "autoBuild": true,
    "publicOutputDir": "vite-test",
    "port": 3037
  }
}DockerfileにEXPOSEセクションを追加して、ホストOSからコンテナの3036番ポートにアクセスできるようにします。
FROM ruby:3.2.2

RUN apt-get update
RUN curl -sL http s://deb.nodesource.com/setup_18.x | bash -
RUN apt-get install -y nodejs npm
RUN npm install -g pnpm

ENV PROJECT_DIR /root/rails-project

RUN mkdir $PROJECT_DIR
WORKDIR $PROJECT_DIR

COPY Gemfile $PROJECT_DIR/Gemfile
COPY Gemfile.lock $PROJECT_DIR/Gemfile.lock

ENV BUNDLER_VERSION 2.4.19

RUN gem update --system
RUN gem install bundler -v $BUNDLER_VERSION
RUN bundle
RUN bundle update --source bundler --local

COPY . $PROJECT_DIR

EXPOSE 3000
EXPOSE 3036compose.yamlを変更して、webコンテナの起動時にbin/devを実行するようにします。また、ホストOSの3036番ポートからwebコンテナの3036番ポートにアクセスするようにします。
services:
  web:
    image: rails:latest
    build: .
    volumes:
      - .:/root/rails-project
    command: bash -c "rm -f tmp/pids/server.pid && bin/dev"
    environment:
      POSTGRES_DEFAULT_USER: postgres
      POSTGRES_DEFAULT_PASSWORD: password
    ports:
      - "3000:3000"
      - "3036:3036"
    depends_on:
      - db

  db:
    image: postgres:latest
    volumes:
      - postgres-volume:/var/lib/postgresql/data
    environment:
      POSTGRES_USER: postgres
      POSTGRES_PASSWORD: password

volumes:
  postgres-volume:
homeコントローラーの作成
indexアクションを持つhomeコントローラーを作ります。
make exec-web

rails g controller home index

exitconfig/routes.rbを変更して、rootにアクセスした際にhome#indexのビューが表示されるようにします。
Rails.application.routes.draw do
  root "home#index"
  # Define your application routes per the DSL in https://guides.rubyonrails.org/routing.html

  # Defines the root path route ("/")
  # root "articles#index"
endapp/assets/stylesheetsを削除し、app/frontend/entrypoints/application.cssを作ります。
app/views/layouts/application.html.erbのstylesheet_link_tagをvite_stylesheet_tagに置き換えます。
<!DOCTYPE html>
<html>
<head>
<title>RailsProject</title>
<meta name="viewport" content="width=device-width,initial-scale=1">
<%= csrf_meta_tags %>
<%= csp_meta_tag %>
<%= vite_stylesheet_tag 'application' %>
<%= vite_client_tag %>
<%= vite_javascript_tag 'application' %>
<!--
If using a TypeScript entrypoint file:
vite_typescript_tag 'application'
If using a .jsx or .tsx entrypoint, add the extension:
vite_javascript_tag 'application.jsx'
Visit the guide for more information: https://vite-ruby.netlify.app/guide/rails
-->
</head>
<body>
<%= yield %>
</body>
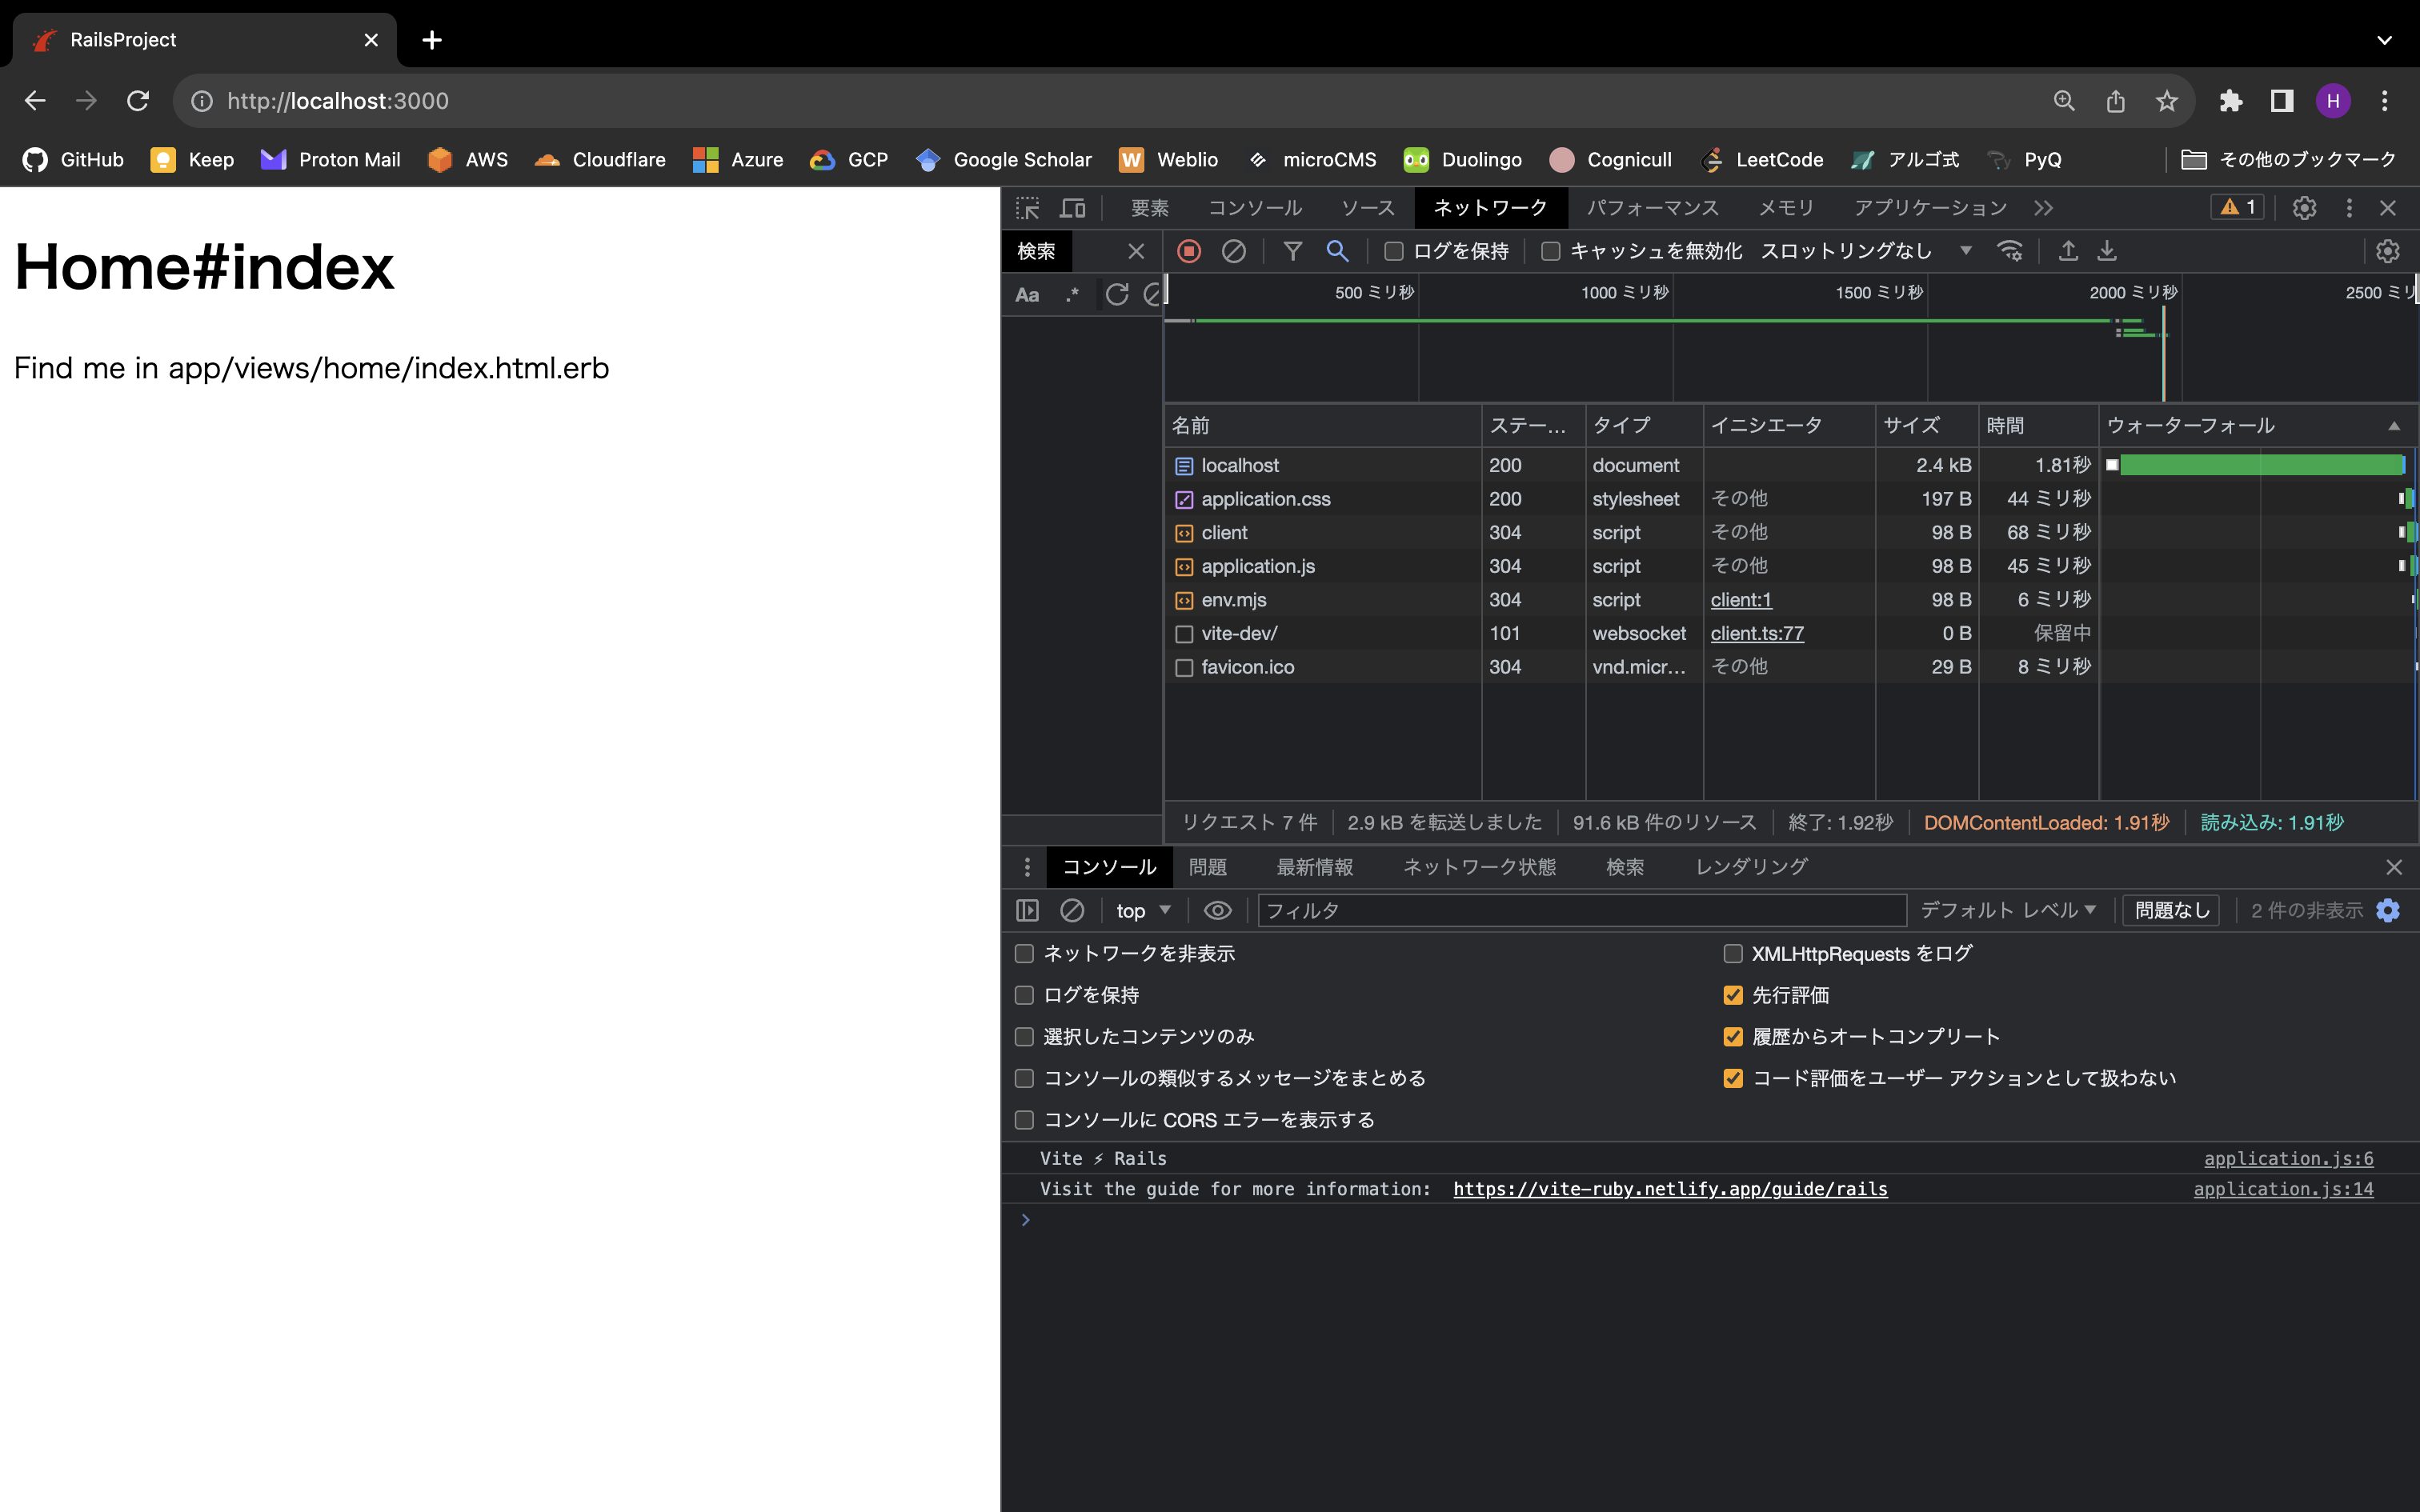
</html>make upを実行してから、http://localhost:3000にアクセスすると、コンソールにVite ⚡️ Railsと表示されます。
config/routes.rbとerbファイルに対してHMRを有効にする
HMR用のプラグインをインストールします。
make exec-web

pnpm add -D vite-plugin-full-reload

exitvite.config.tsにvite-plugin-full-reloadを追加します。
import { defineConfig } from 'vite'
import RubyPlugin from 'vite-plugin-ruby'
import FullReload from 'vite-plugin-full-reload'

export default defineConfig({
  plugins: [
    RubyPlugin(),
    FullReload(['config/routes.rb', 'app/views/**/*'], { delay: 100 }),
  ],
})
make upを実行してからapp/views/home/index.html.erbを変更してみましょう。HMRが動作していることを確認できます。
Tailwindのインストール
make exec-web

pnpm add -D tailwindcss postcss autoprefixer
pnpm tailwindcss init -p

exittailwind.config.jsを変更して、Tailwindがコンパイルされるようにします。
/** @type {import('tailwindcss').Config} */
module.exports = {
  content: [
    './app/views/**/*.html.erb',
    './app/frontend/**/*.{js,ts,jsx,tsx,vue,svelte}',
  ],
  theme: {
    extend: {},
  },
  plugins: [],
}app/frontend/entrypoints/application.cssにTailwindを追加します。
@import "tailwindcss/base";
@import "tailwindcss/components";
@import "tailwindcss/utilities";app/views/home/index.html.erbにTailwindのクラスを追加して動作を確認します。
<h1 class="text-3xl font-bold underline">Home#index</h1>
<p>Find me in app/views/home/index.html.erb</p>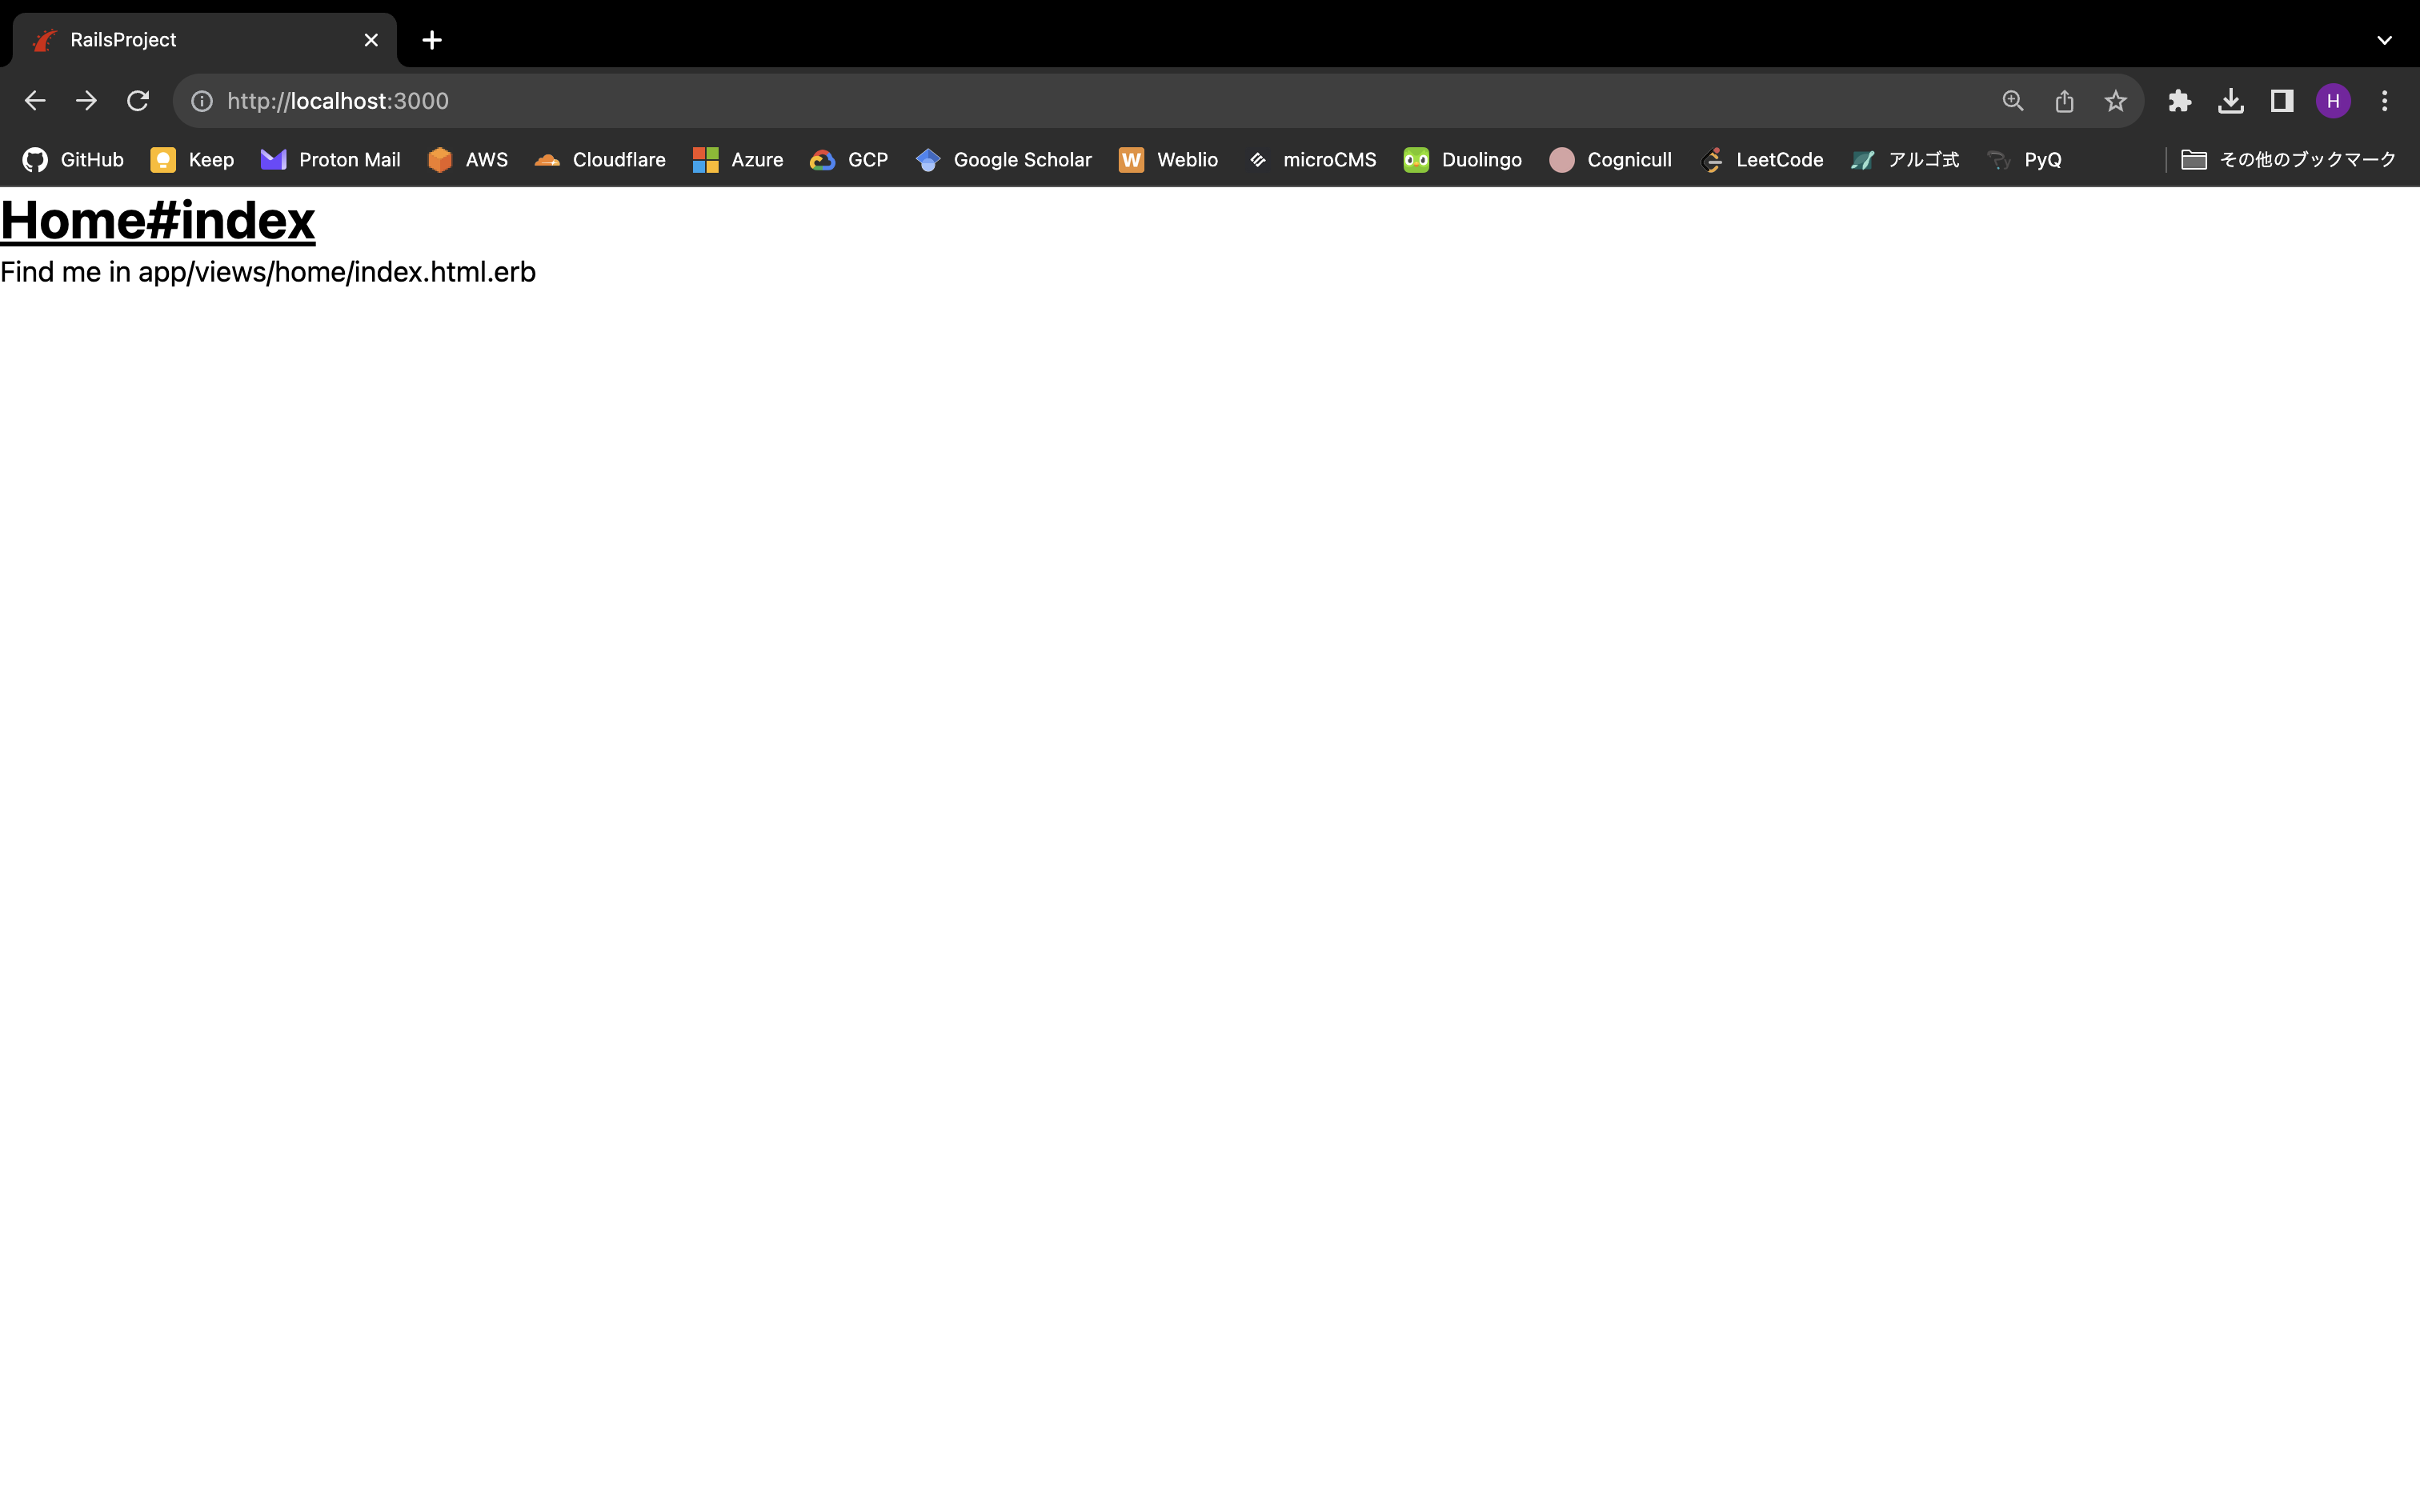
daisyUIのインストール
make exec-web

pnpm add -D daisyui

exitdaisyUIをtailwind.config.jsに追加します。
/** @type {import('tailwindcss').Config} */
module.exports = {
  content: [
    './app/views/**/*.html.erb',
    './app/frontend/**/*.{js,ts,jsx,tsx,vue,svelte}',
  ],
  theme: {
    extend: {},
  },
  plugins: [require("daisyui")],
}app/views/home/index.html.erbにdaisyUIのクラスを追加して動作を確認します。
<h1 class="text-3xl font-bold underline text-accent">Home#index</h1>
<p>Find me in app/views/home/index.html.erb</p>